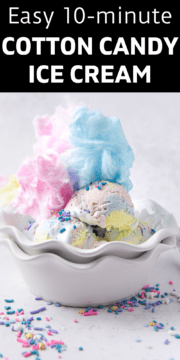
If you're ever trying to choose between cotton candy and ice cream for dessert, why not try this amazing cotton candy ice cream recipe which includes both! It's a delicious warm-weather dessert that you can also make during the cooler season to change it up.

Jump to:
The colorful look makes it fun to make (get the kids to help!) and it tastes sweet, creamy, and delicious. There are only 4 ingredients needed to make this exciting treat and you don't even need an ice cream machine or maker.
Whether or not you've made your own ice cream before, you won't have any trouble with this simple recipe. The only thing you need to remember is that you need to let it set overnight, so just plan to make it a day ahead.
Frozen cream puffs and this delicious coconut sorbet are a couple of other frozen favorites around my house that we make often.
Main Ingredients
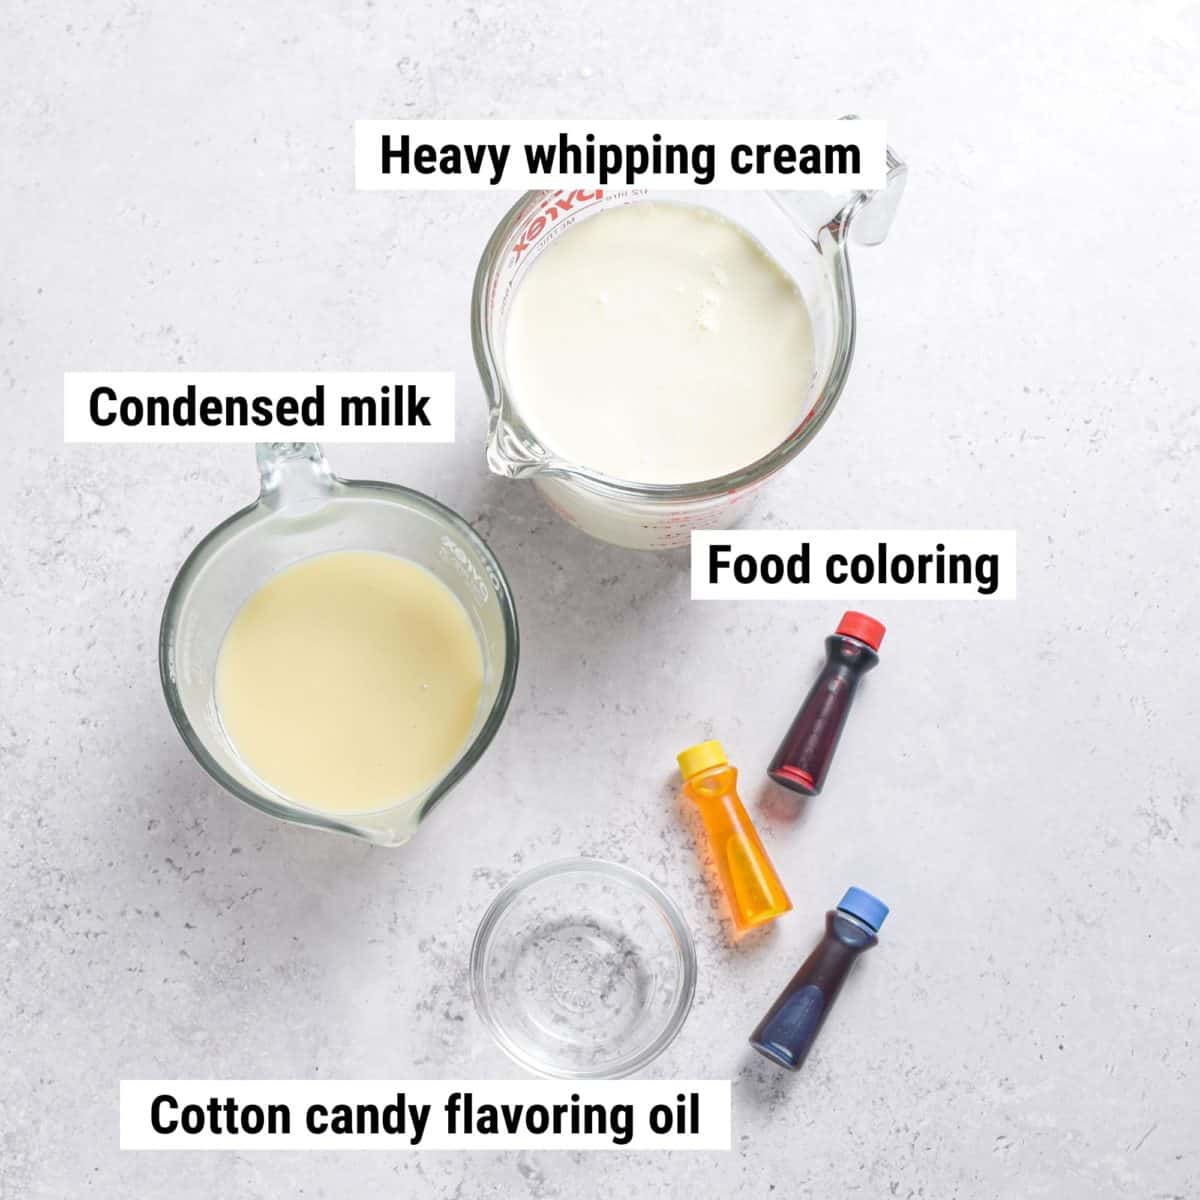
Every ingredient in this fun dessert is a main ingredient since there are only 4 of them in total. Let's take a look at what you're going to need:
- Heavy whipping cream: For the perfect creamy texture. Make sure your cream is chilled before you start working on the recipe.
- Sweetened condensed milk: Adds sweetness and texture. You might be curious whether there is a dairy-free version of this recipe, but I wouldn't recommend substituting dairy-free alternatives, just because you need the high-fat content from dairy to get the ice cream thick enough, as well as beautifully rich and creamy! If you're looking for something dairy-free, maybe try this banana pudding instead, using a vegan butter alternative.
- Cotton candy flavoring oil: To add the taste we all know and love. Look for either the flavoring oil or flavoring syrup that you add to snow cones. If you can't find this at the grocery store you can order it online.
- Food coloring: For different colors. Use pink, blue, and yellow, or choose your own colors. Try food coloring gel or food coloring liquid; either will work here, but if you're using gel you'll need a little less.
Instructions Overview
It might surprise you to discover cotton candy dates back over 120 years and was created when a confectioner joined forces with a dentist - yes, really!
They came up with a machine to spin hot sugar through a screen. Cotton candy might not be associated with dentists, but it's actually lower in sugar than many other candies. So how do you make your own ice cream with this wonderful carnival flavor?
Well, first of all, don't forget to chill your equipment as well as the ingredients before you start. After that, you can whip the cream until you get stiff peaks.
Combine the cotton candy flavoring and sweetened condensed milk in another bowl, then mix it into the whipped cream bit by bit.
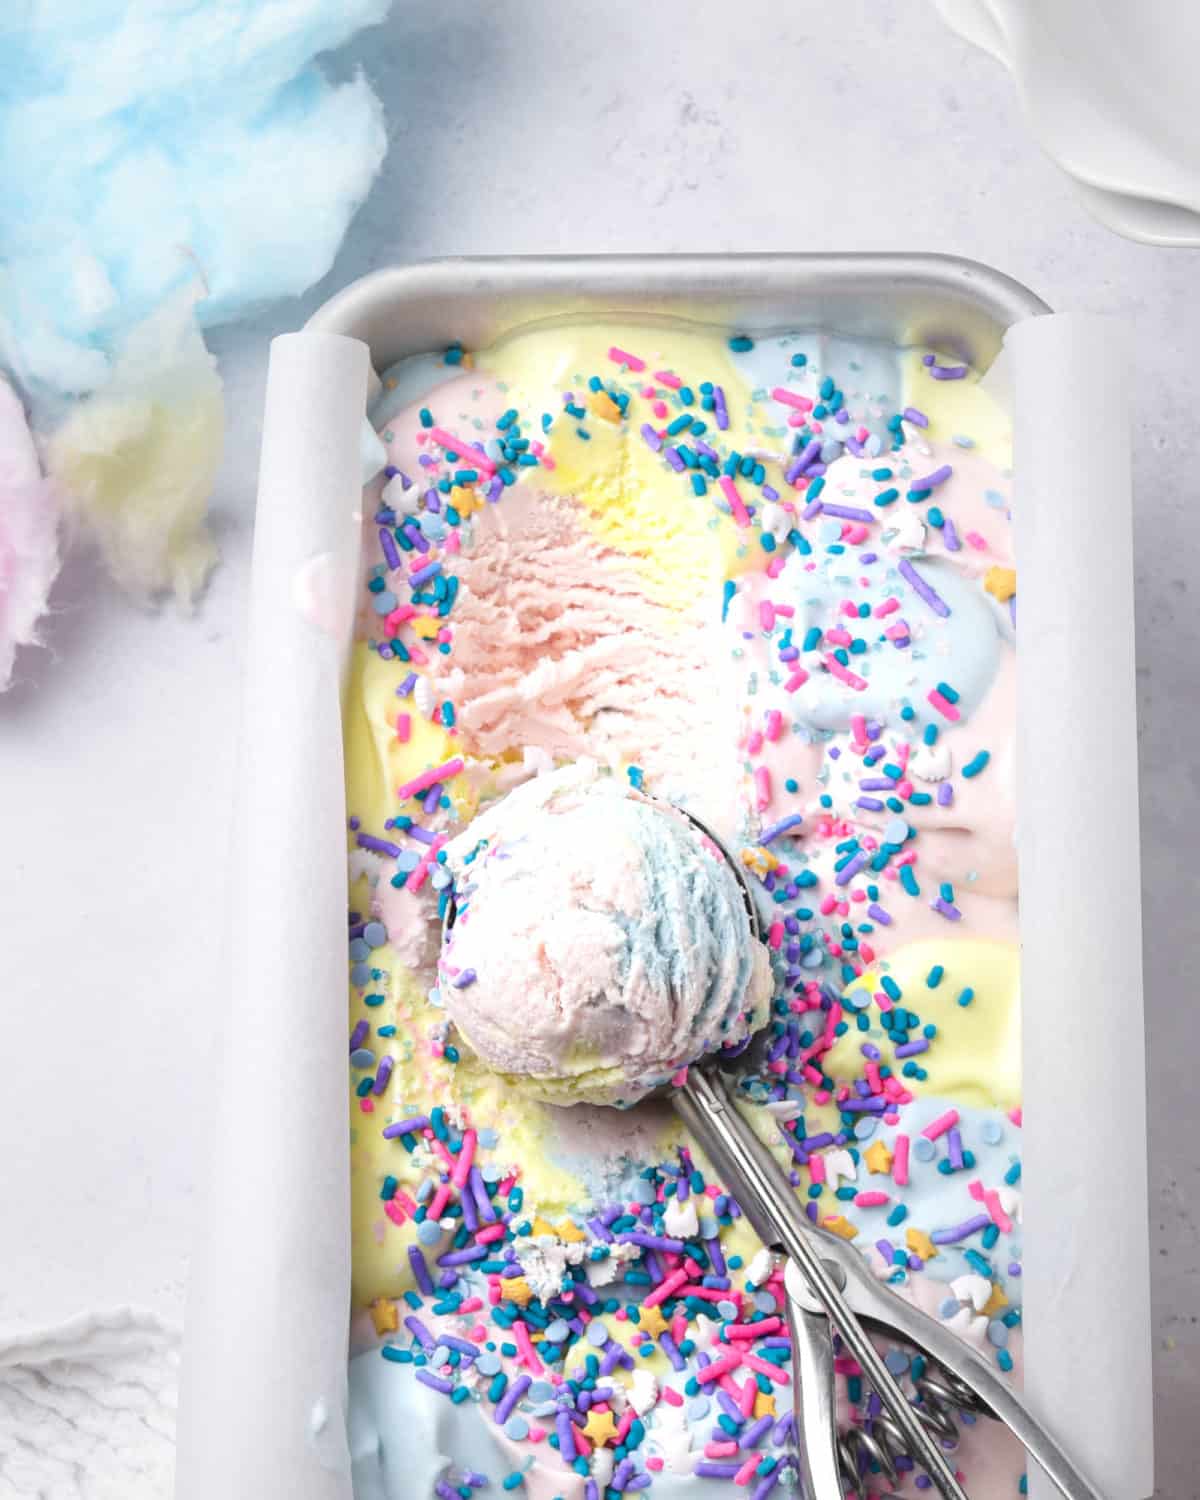
Divide this mixture between 3 bowls and add a different color to each one. Add spoonfuls of each one to a loaf pan. Freeze it overnight and then you can enjoy it the following day!
Common Questions
Anything from sprinkles to chopped nuts, pop rocks, shredded coconut, and crumbled cookies to crumbled candy bars would complement it nicely. Crumbled potato chips would add a salty crunch to contrast with the sweetness, or you could add some edible glitter to make what's already a fun dessert even more fun!
The easy answer is nothing! There is no difference. What we know as cotton candy in the U.S. is called candy floss in England. And it's known as fairy floss in Finland and Australia.
Although this would definitely disappear in a few days in this house, you can safely store it in the freezer for up to 2 months as long as it's in a sealed container.
Chopnotch Tips
- Chill not only the ingredients but also the mixing bowl, whisk and pan as well. Get everything nice and cold before you start for the best results.
- The only interchangeable ingredients are the food colorings. I like to use pink, blue, and yellow, but you can use any colors you want, or use 2 colors instead or even 4! Purple would be cute too. Have fun - get creative!
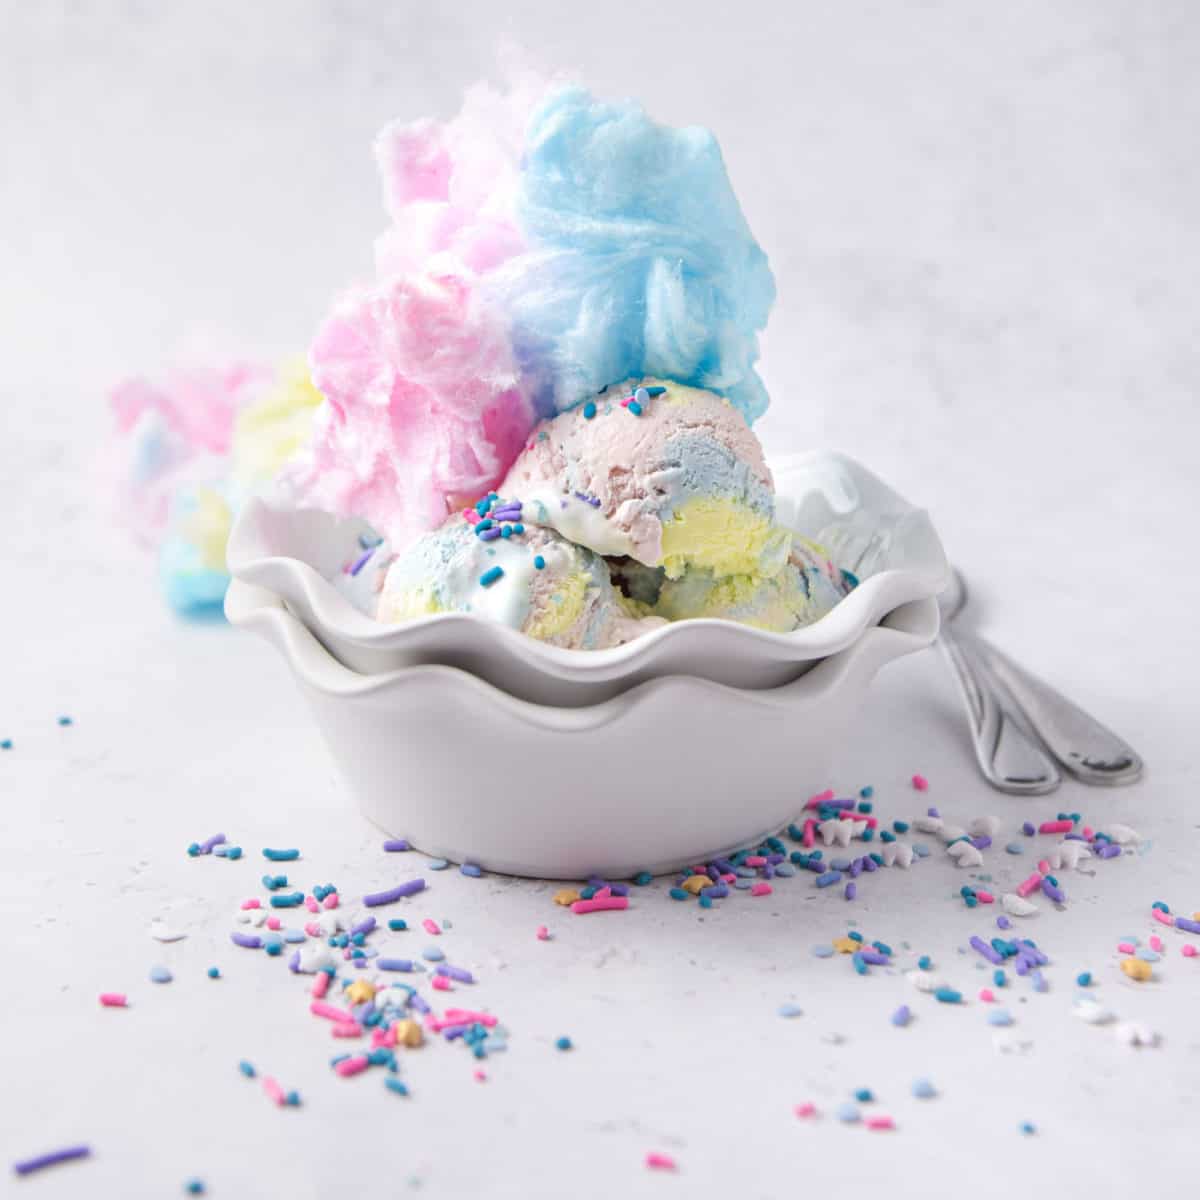
- Serve it in bowls with your preferred toppings or scoop it into cones, as you prefer.
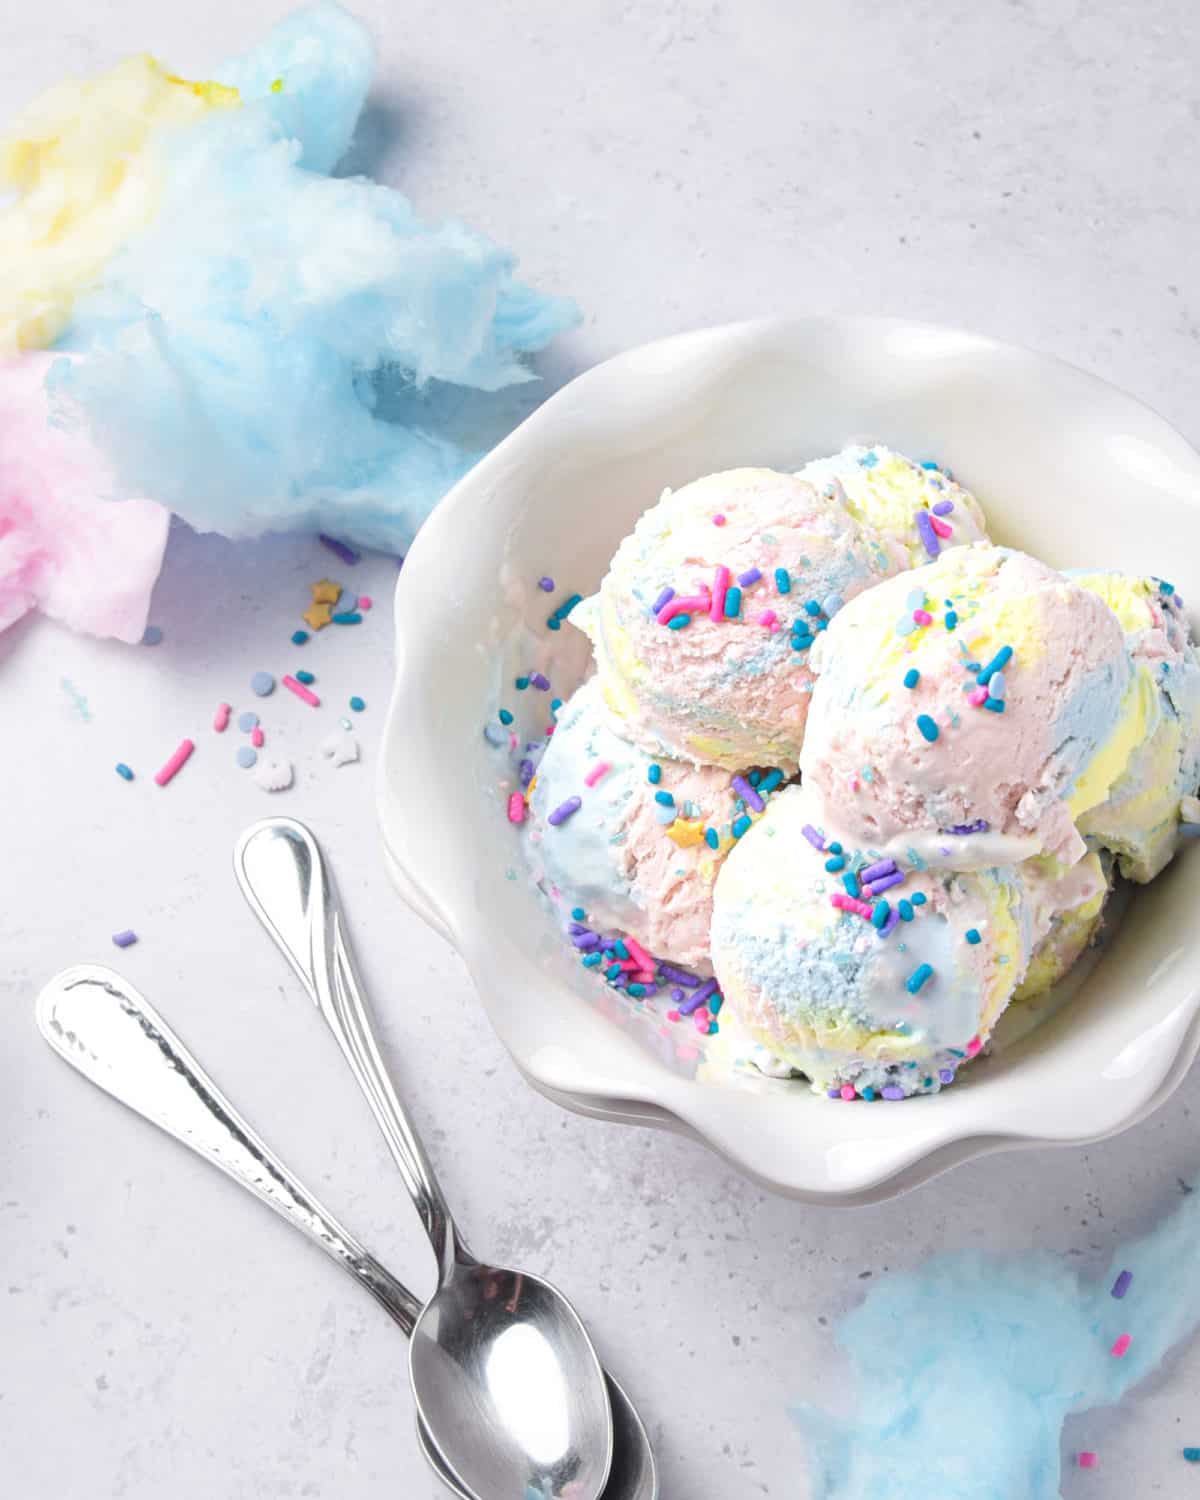
The delicious carnival treat known as candy floss is made into colorful, creamy cotton candy ice cream that you need to try for yourself. I know you'll love it as much as we do.
Related Recipes


Let us know what you think! Give this recipe a rating in the comments section below.
Recipe
How to Make
Cotton Candy Ice Cream

Ingredients
- 2 cups heavy whipping cream, chilled
- 10 ounces sweetened condensed milk, chilled
- 2 teaspoons cotton candy flavoring oil
- food coloring, pink, blue, and yellow
Instructions
- Place a loaf pan, a large mixing bowl, and a whisk in the freezer for at least 30 minutes before starting. Make sure your whipping cream and sweetened condensed milk are both nice and cold.
- Remove the large mixing bowl and whisk from the freezer. Add the chilled whipping cream to the bowl and beat until stiff peaks form.
- In a separate bowl, mix together the chilled sweetened condensed milk and cotton candy flavoring until smooth, and then gradually add this mixture to the whipping cream by very gently folding it into the whipped cream.
- Divide the mixture into 3 separate bowls. Color one bowl pink, one blue, and one yellow.
- Remove the loaf pan from the freezer. Transfer the ice cream mixture from the 3 colored bowls into the loaf pan by the spoonful. Alternate spoonfuls between the 3 different colors as you scoop them into the loaf pan.
- Freeze overnight. Serve and enjoy!
Notes
- Chill not only the ingredients but also the mixing bowl, whisk and pan as well. Get everything nice and cold before you start for the best results.
- The only interchangeable ingredients are the food colorings. I like to use pink, blue, and yellow, but you can use any colors you want, or use 2 colors instead or even 4! Purple would be cute too. Have fun - get creative!
- Serve it in bowls with your preferred toppings or scoop it into cones, as you prefer.