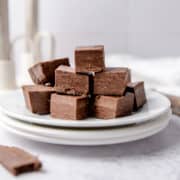
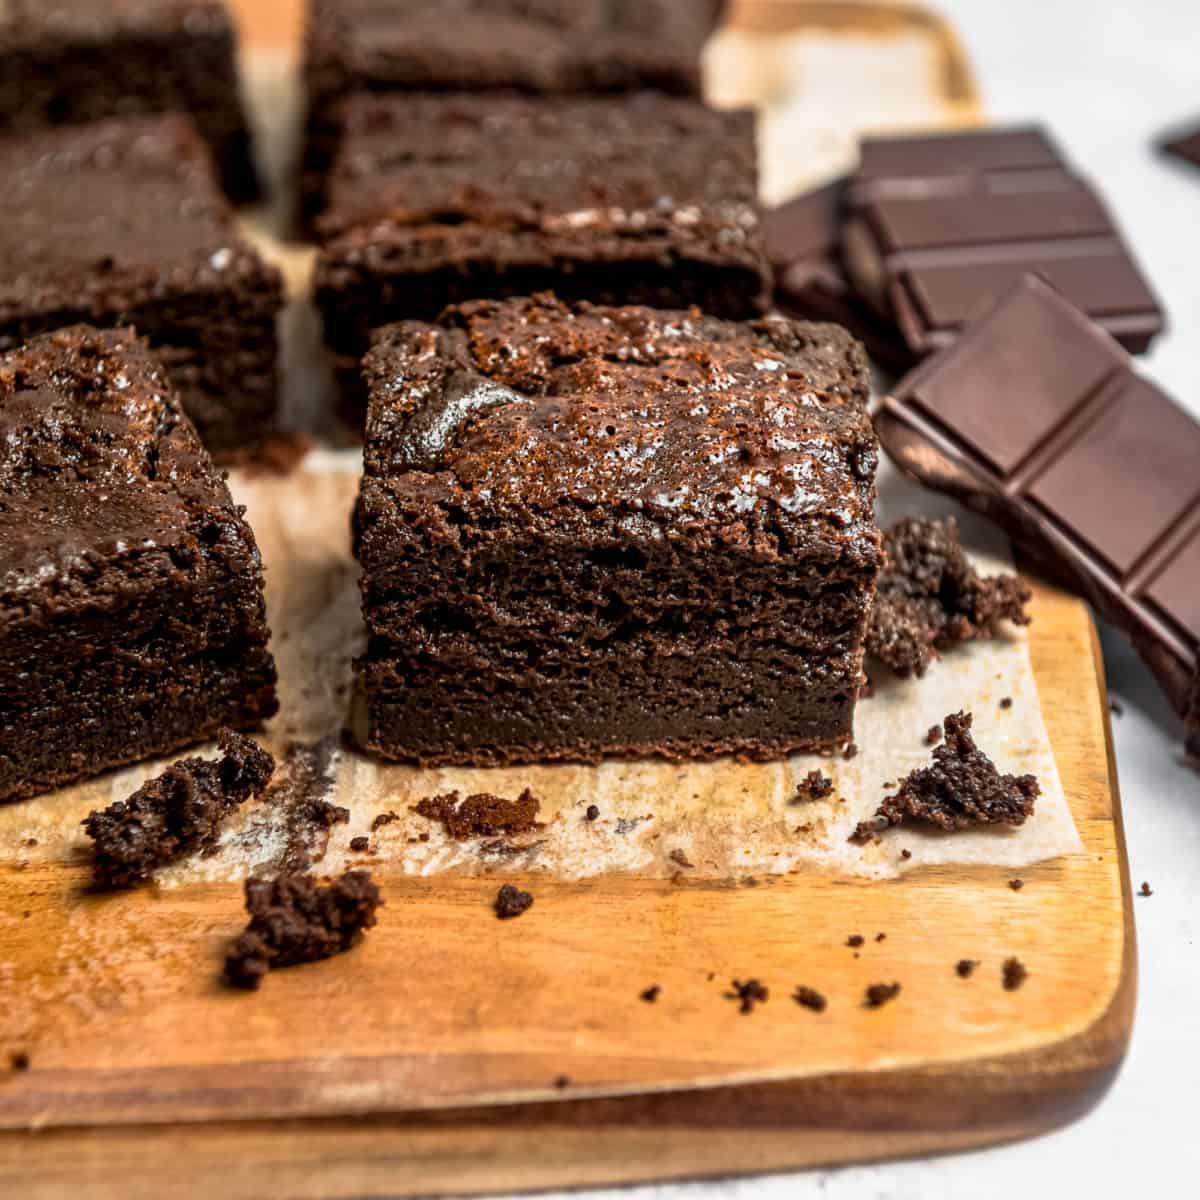
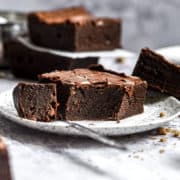
The fudgy chewiness of chocolate brownies combines with the exotic flavor of Japanese mochi in these unusual mochi brownies. The rich flavor of chocolate, the hint of vanilla, the chewy texture inside, and the crisp, crackly texture on top will make you so glad you made them!
Jump to:
We all know and love brownies, but not everyone has tried mochi. They are soft rice buns with a texture like chewy marshmallows. They’re popular in Hawaii as well as Japan.
If you like to try new recipes, especially unusual ones, you have to make these mochi brownies! All the ingredients are ones you’d expect in chocolate brownies apart from the glutinous rice flour which adds in that special Japanese touch!
It’s a nice easy recipe since you just need to combine the ingredients and bake them. And if you're a chocolate fan, then you need to check out my triple chocolate brownies or these dark chocolate brownies too, which are also really easy recipes.
Main Ingredients
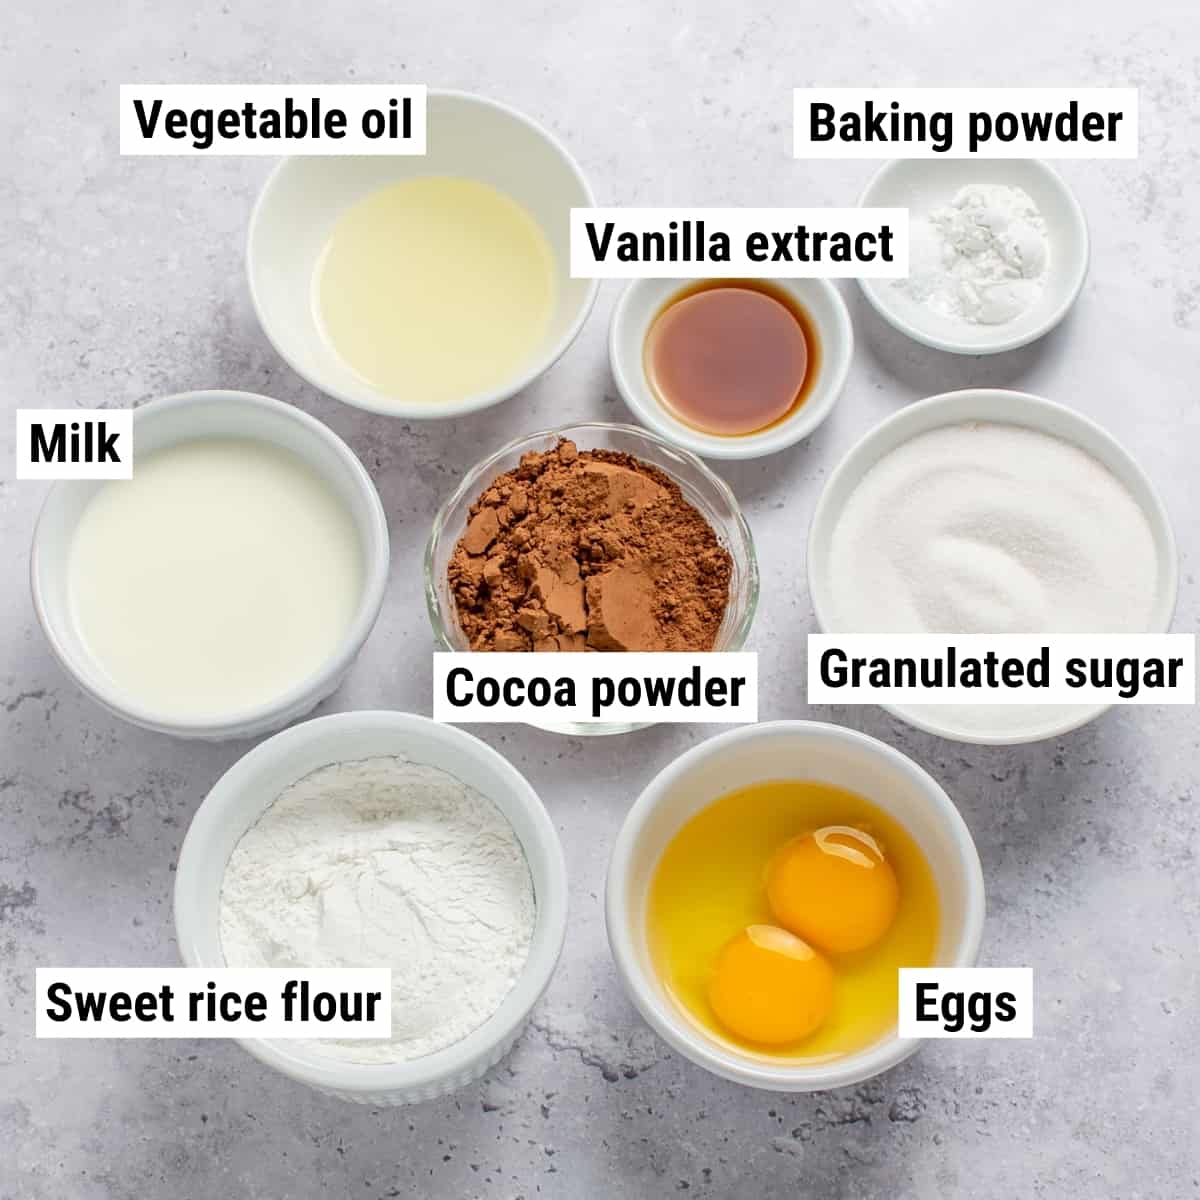
This recipe is a variation on Hawaiian butter mochi. Most of the ingredients are typical brownie ingredients. Let’s take a closer look at what you need for these chewy, fudgy, chocolaty mochi brownies!
- Cocoa powder: For a rich chocolate taste. Use natural or Dutch-processed cocoa here for the richest, tastiest result.
- Sweet rice flour: To add Japanese flair. This is the ingredient that will give the mochi brownies their wonderful chewy texture! This kind of flour is also known as mochiko flour, so that’s what you need to look for if you’re getting this from an Asian market. It’s a sweet rice flour made from a kind of short-grain rice. Make sure you get sweet rice flour, not plain rice flour. Oh, and the Thai or Taiwanese brands are just as good as the Japanese ones in this recipe.
- Milk: For a creamy texture. You can use any kind of milk here including soy or almond milk. Just make sure it’s at room temperature before you start.
- Vanilla: To complement the chocolate taste. I don’t think I ever made brownies without a hearty splash of vanilla! Use pure vanilla extract for the best result. Vanilla paste would also be good here. Coffee also goes well with the flavor of chocolate so you might like to add a teaspoon of instant espresso powder to the batter too!
- White sugar: For the perfect amount of sweetness. You could use brown sugar instead for a richer, more molasses-like flavor, or even half white and half brown.
Instructions Overview
Whether or not you’ve made brownies before, you are going to find these mochi brownies really straightforward. The first thing to do is combine the sweet rice flour with the Dutch-processed cocoa. Next add the sugar, salt, and baking powder.
Beat the eggs in a different bowl and add the oil, milk, and vanilla. Beat the mixture well then combine the dry mixture with the wet one. If you have an electric mixer you will find this super-easy. If not, make sure you use plenty of elbow grease!
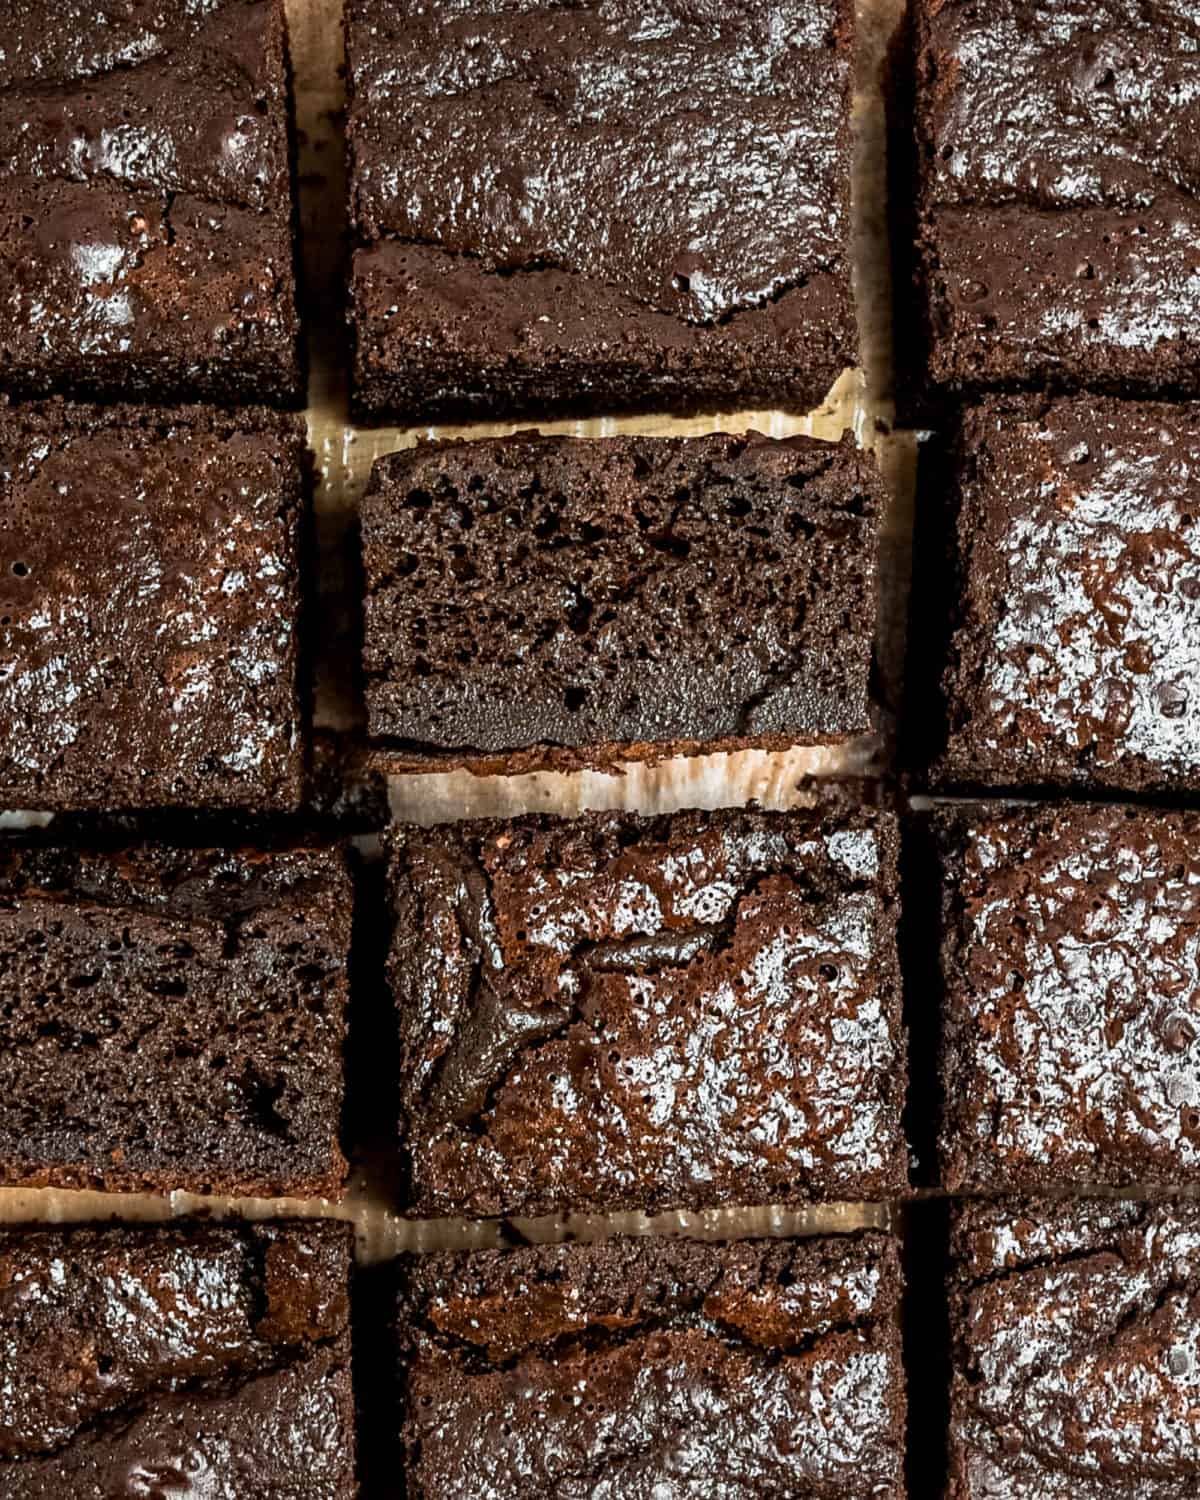
Pour the batter into a parchment paper-lined baking dish and bake for 35 minutes or until a toothpick is almost clean when inserted into the middle.
Common Questions
Water and mochigome (sticky, short-grain rice) combine to make this delicious Japanese dessert. Mochi can be enjoyed as it is or wrapped around red bean paste or ice cream. The rice flavor of mochi is what we are using to give a subtle Japanese flavor to the brownies.
It’s used as an alternative to all-purpose flour but is made from rice rather than wheat, making it ideal for gluten-free eaters. Used in bread, rice flour gives a tougher texture, shorter shelf life, and smaller volume, but add it to brownies and you will find it adds a wonderful chewy texture!
It’s higher in manganese and Vitamin B6 and contains more fiber than regular flour, which is yet another reason to fall in love with these mochi brownies!
This often happens if you whisk the ingredients together too much. Over-mixing means you end up with too many air bubbles in the brownie batter and that’s what makes the brownies fluffy instead of dense and chewy.
It’s important to keep an eye on the baking time. Undercooked brownies can be too gooey in the center while overcooked ones can be dry and tough. My oven takes about 35 minutes to cook these to perfection, but ovens can vary. For the best result, use a toothpick. As soon as it comes out of the brownie mixture clean, take them out of the oven.
Make them a day or two ahead if you like, but they are best enjoyed the same day.
They should last 3 or 4 days in an airtight container. Keep them at room temperature because refrigerating them can result in a tough texture.
Yes, you can freeze and then thaw them on the countertop. It’s best to freeze mochi brownies individually so you can just thaw what you need.
Mochi brownies are a rich and indulgent treat and you don’t need to accompany them with whipped cream or ice cream. But you can if you want! I love espresso with my brownies. The flavor of the coffee goes well with the rich chocolate taste.
You’re in luck since glutinous rice flour is already gluten-free!
Chopnotch Tips
- When you line the pan with parchment paper, leave some hanging over the edges. This makes it easier to remove the brownies later.
- Before you put them in the oven, smack the pan on the countertop once to help get rid of air bubbles. This results in a chewier texture.
- Let them cool before you cut them, otherwise, they will be too sticky to cut neatly.
- If you have sweet rice flour left over, it works really well for breading instead of all-purpose flour.

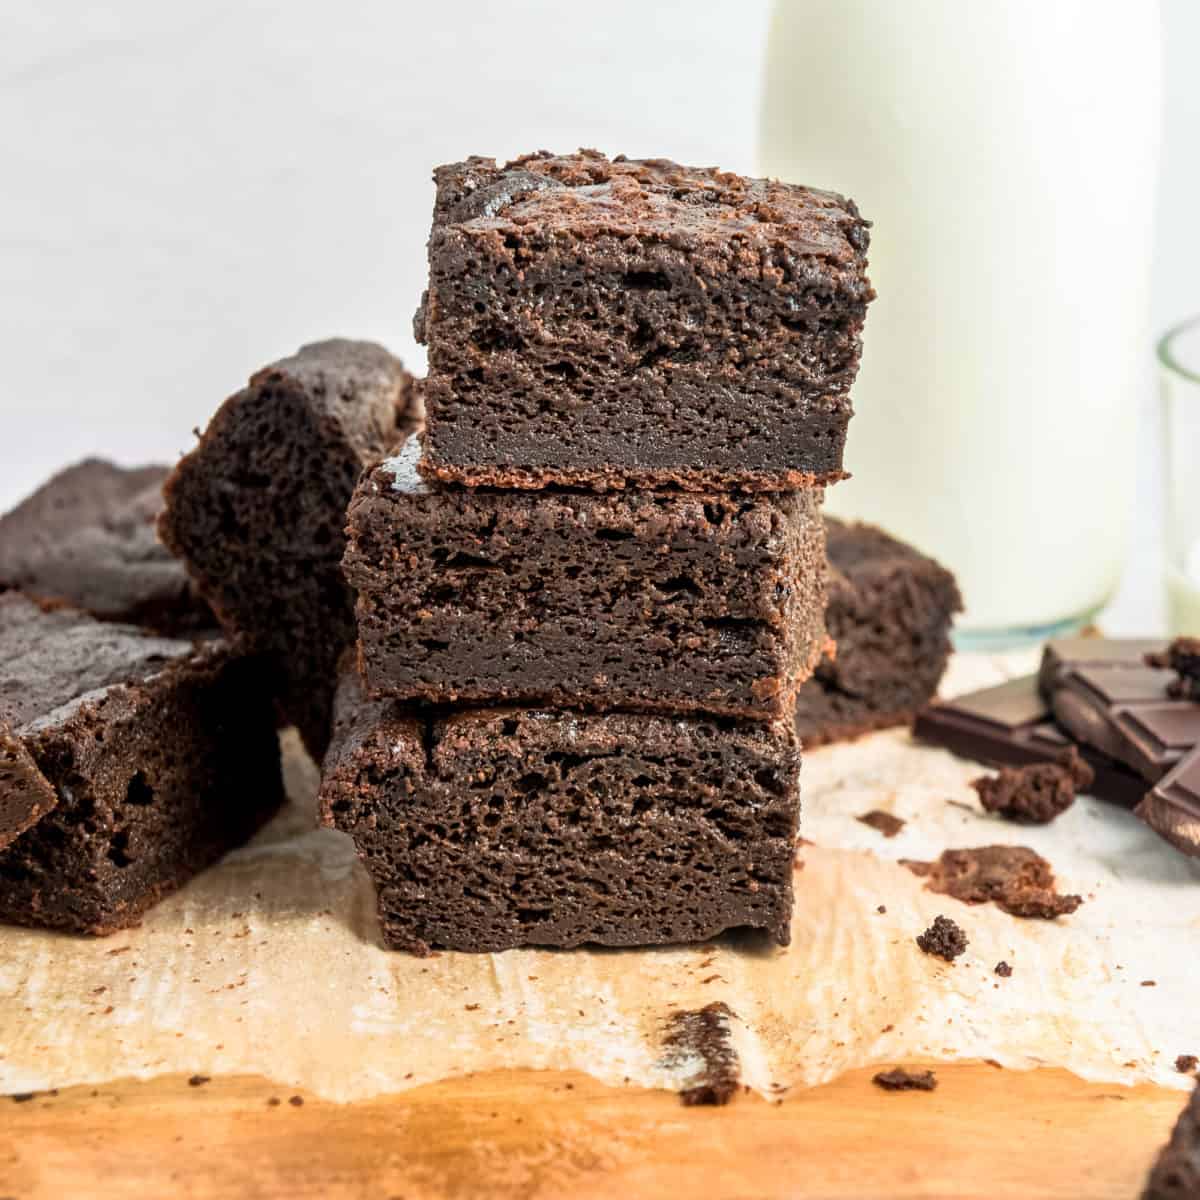
Mochi brownies are a delicious cross between fudgy chocolate brownies and Japanese/Hawaiian mochi. They taste incredible and have a great chewy texture.
Related Recipes


Let us know what you think! Give this recipe a rating in the comments section below.
Recipe
How to Make
Mochi Brownies

Ingredients
- 1 cup sweet rice flour, or any type of flour made with glutinous rice
- ½ cup unsweetened cocoa powder
- ½ cup granulated sugar
- 1 teaspoon baking powder
- ¼ teaspoon salt
- 2 eggs, room temperature
- 1 cup milk, any type of milk at room temperature
- 2 tablespoons vegetable oil
- 1 ½ teaspoons vanilla extract
Instructions
- Preheat the oven to 350°F and line an 8-inch baking pan with parchment paper. Let some extra parchment paper hang over the two ends of the pan for easy removal later.
- Mix the sweet rice flour and the unsweetened cocoa powder together in a medium bowl and then add the sugar, salt, and baking powder and set aside. In another bowl, beat the eggs for 30 seconds, then add the milk, oil, and vanilla extract and beat for another 30 seconds until foamy. Now pour this mixture into the flour mixture and mix well until the batter is smooth.
- Pour the batter into the baking pan and bake for 35 minutes. It’s done when an inserted toothpick comes out mostly clean from the center. Let cool to room temperature. Slice and enjoy!
Notes
- When you line the pan with parchment paper, leave some hanging over the edges. This makes it easier to remove the brownies later.
- Before you put them in the oven, smack the pan on the countertop once to help get rid of air bubbles. This results in a chewier texture.
- Let them cool before you cut them, otherwise, they will be too sticky to cut neatly.
- If you have sweet rice flour left over, it works really well for breading instead of all-purpose flour.