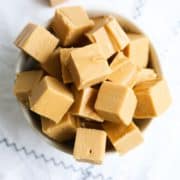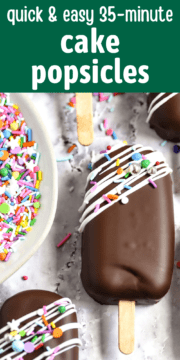
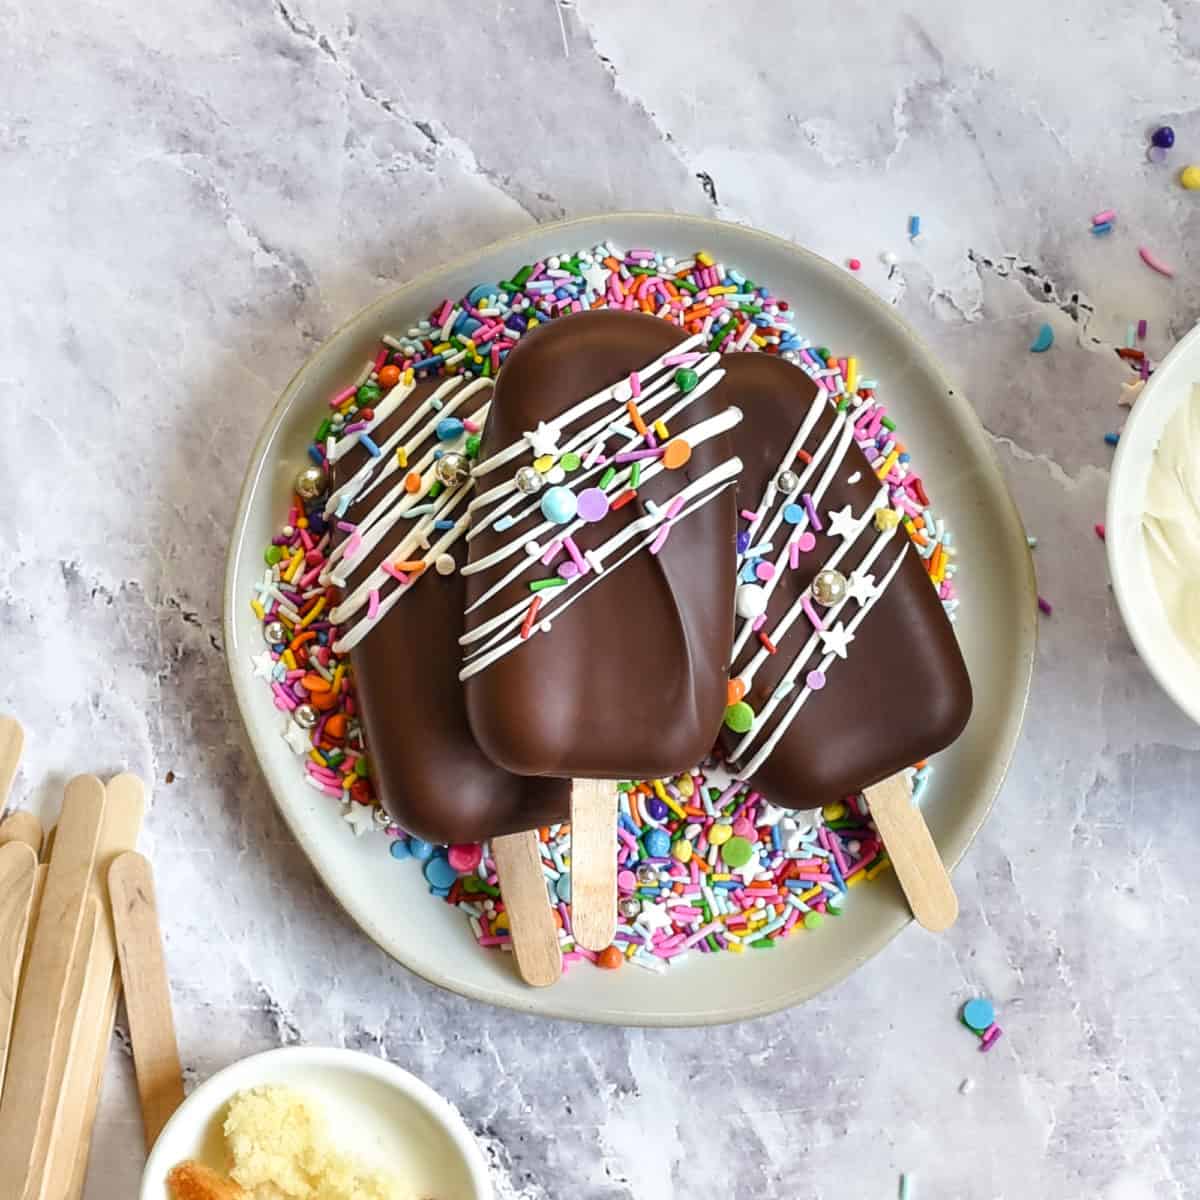
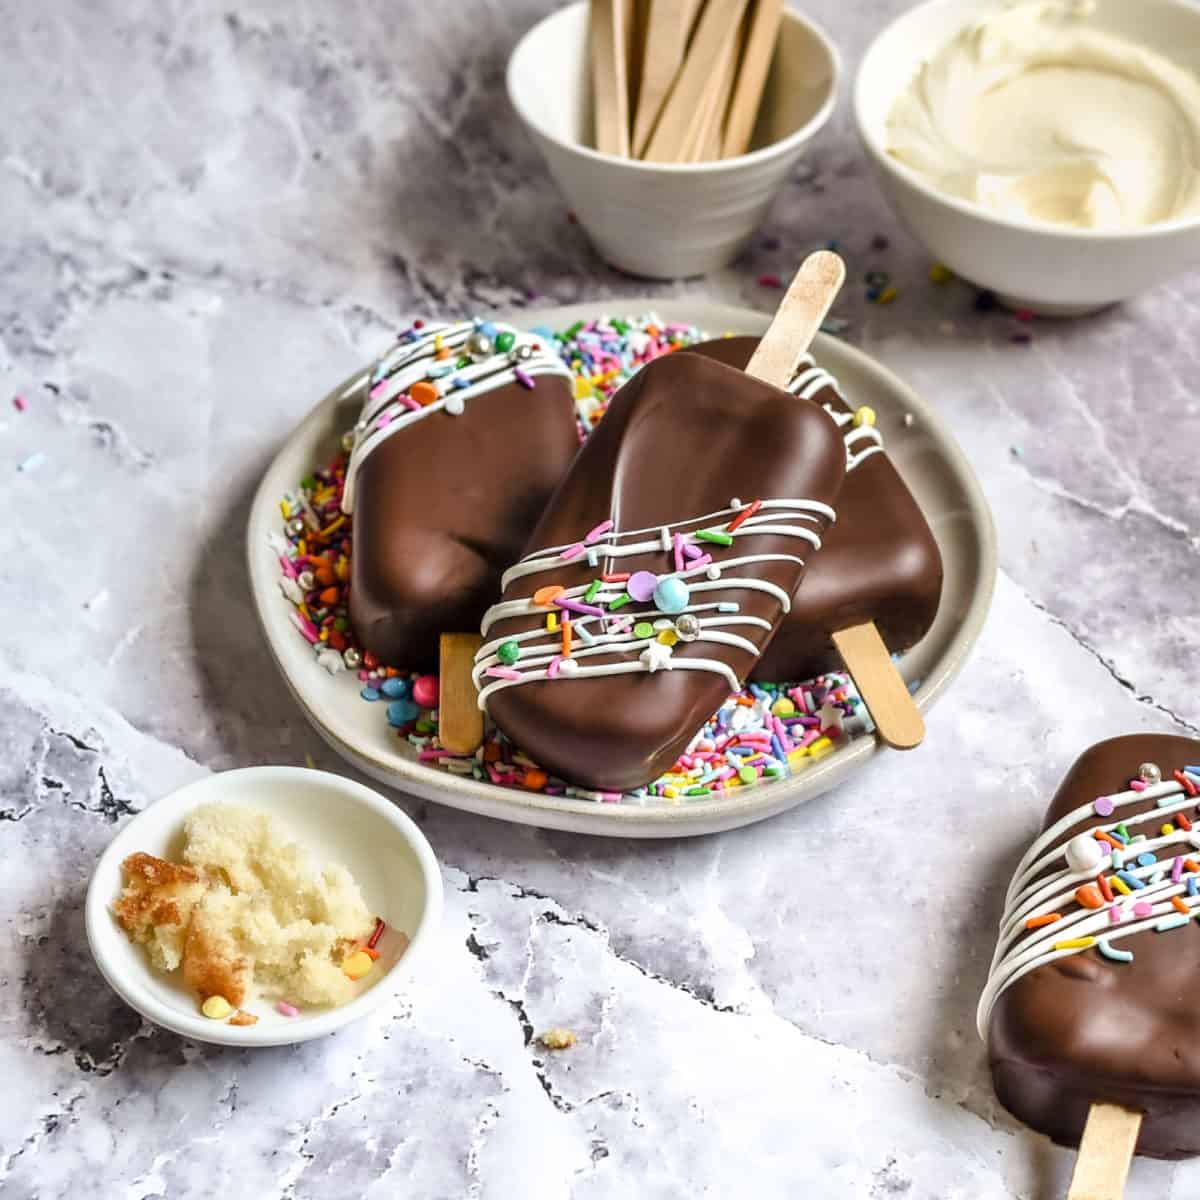
These super-cute cake popsicles are perfect for any occasion. With only 4 ingredients, they’re easy to make and are just as special as any love cake pops from a bakery and for a fraction of the price! Cake popsicles are especially good for birthday parties, baby showers, or Valentine’s Day.
Jump to:
Cake popsicles have only been around since 2008, but they’ve taken the world by storm since then and everyone loves them. Now you can make your own version with this easy-to-follow cake popsicle recipe.
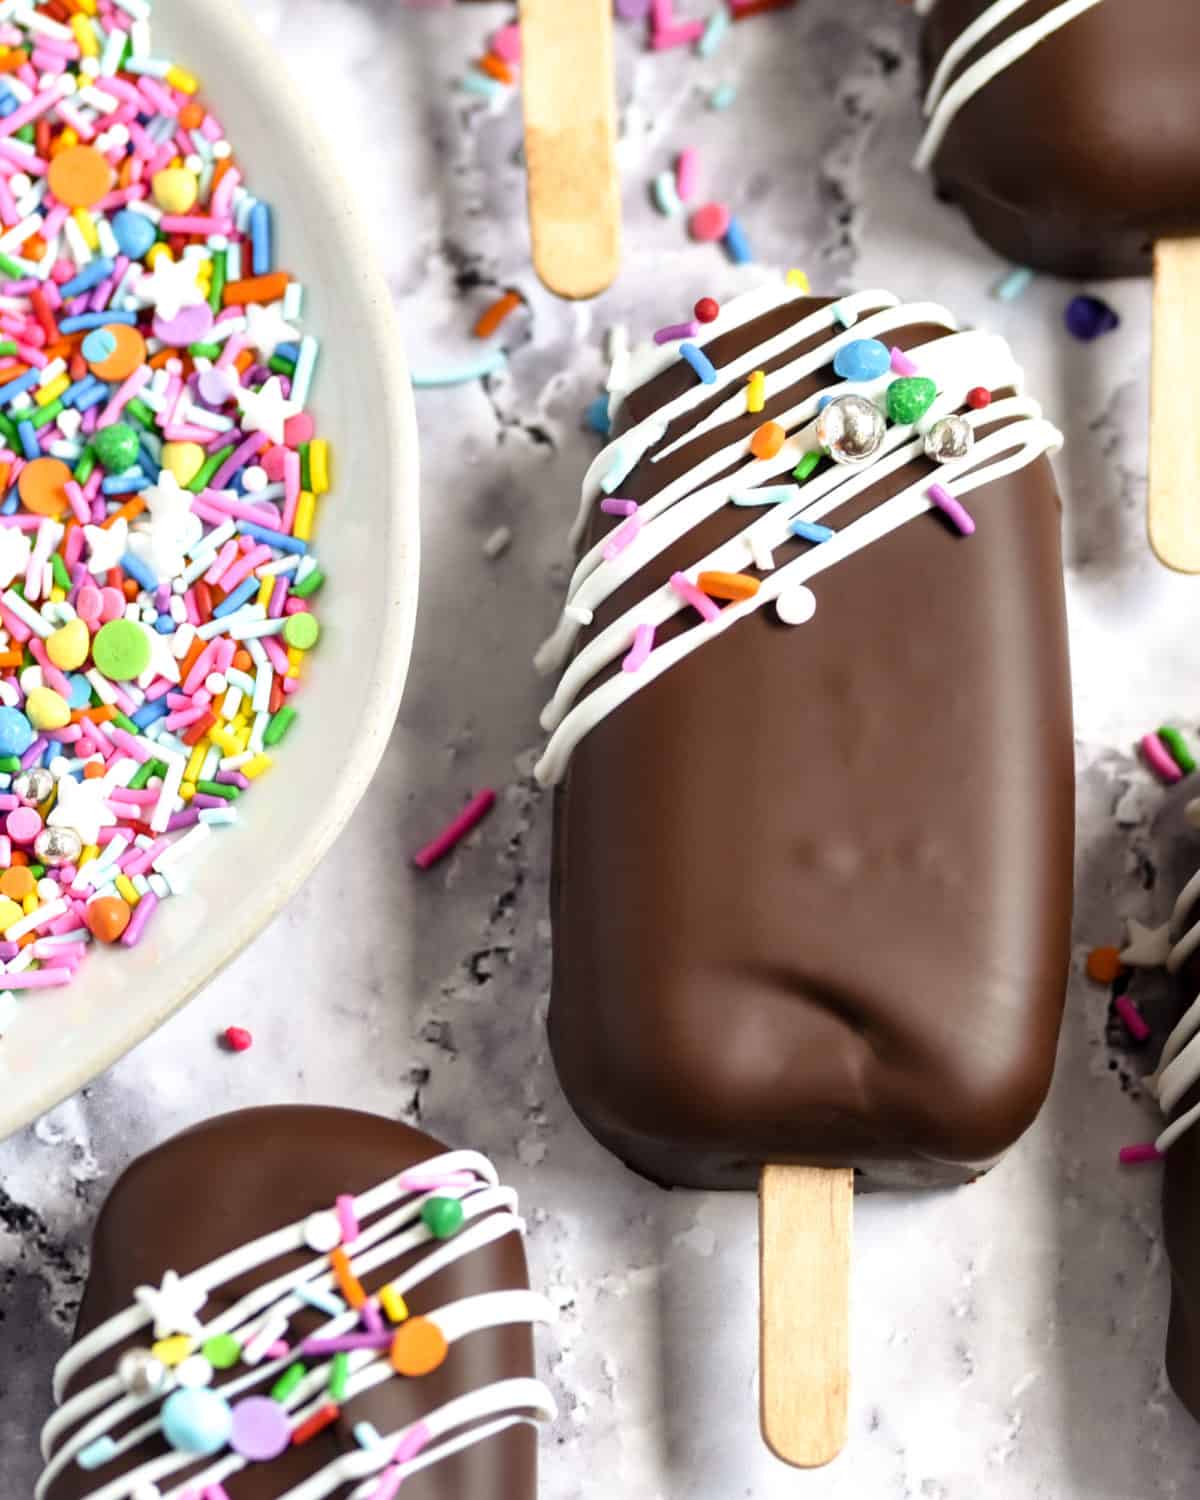
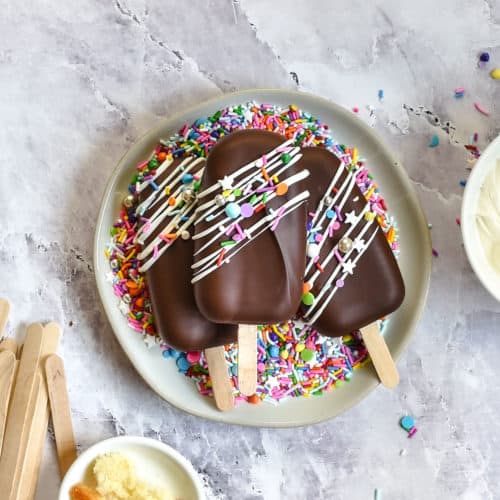
The filling in these cake popsicles is white cake and vanilla frosting. The shell is made with chocolate and then you just need decorating gel to add the final touches. You honestly won’t believe how quick and easy these are to make!
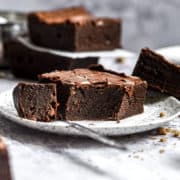
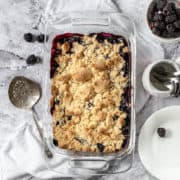
If you're interested in more easy summer desserts, then you need to check out these mini peach cheesecakes. And my blackberry cobbler too, which is also made with cake mix and is so easy to prepare!
Main Ingredients
So how do you make cake popsicles? You don’t need a lot of ingredients for this simple recipe. Let’s take a look at the key ingredients in these little treats:
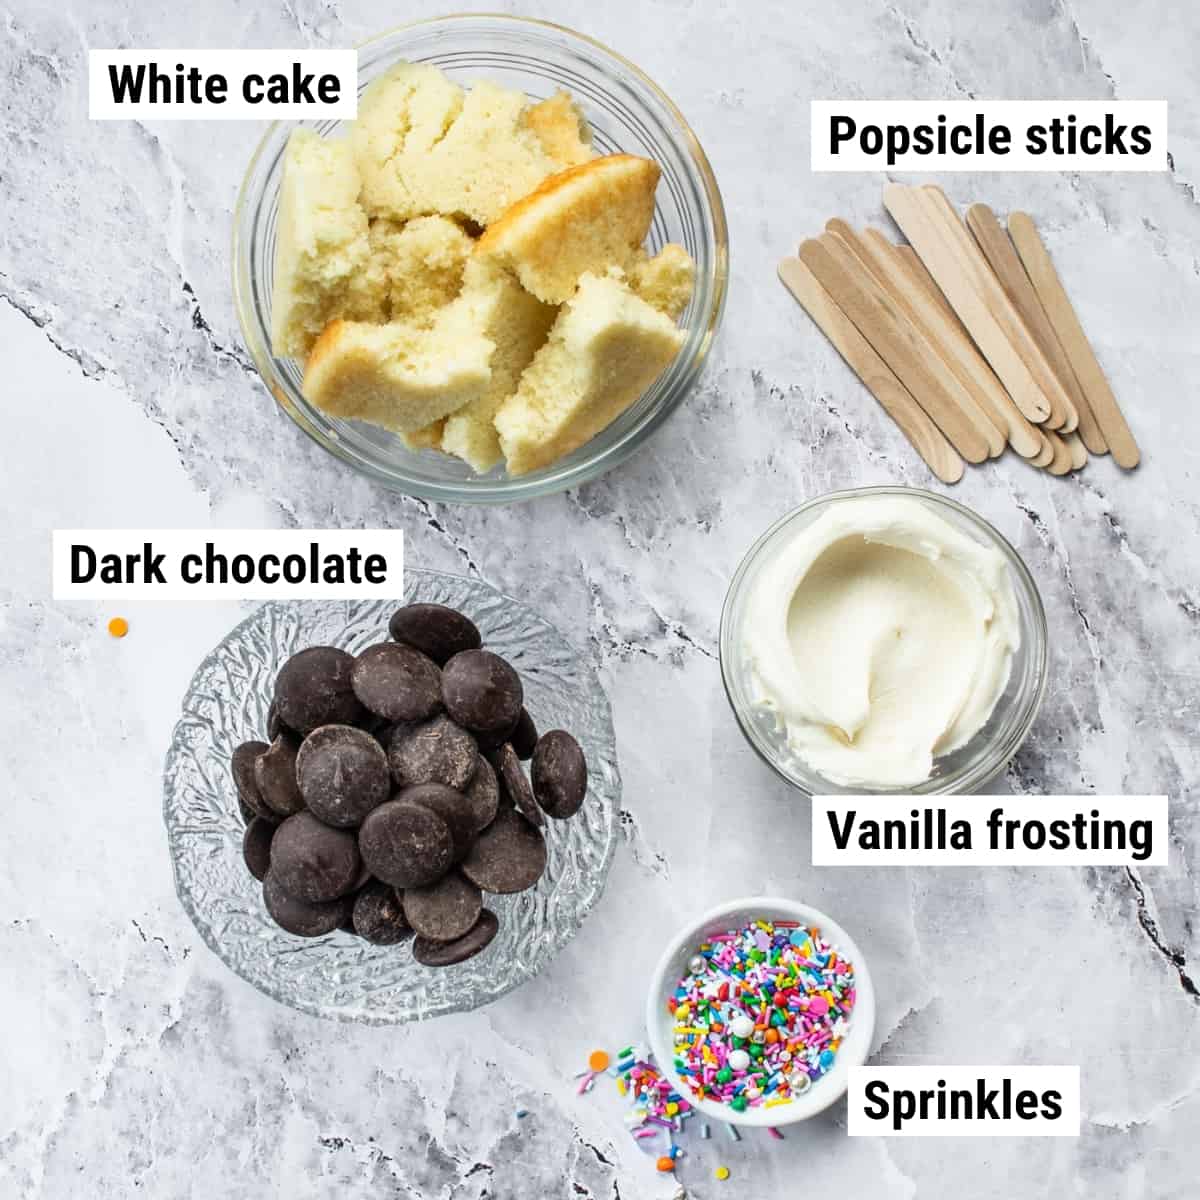
- White cake mix: The main ingredient in these cake popsicles. Brands differ so just use whichever you prefer and what is available. You can omit the oil if the box recipe calls for it. Don’t worry, they will still be moist and delicious. If you’re more of a yellow cake fan, feel free to use that instead.
- Vanilla frosting: To add a complementary flavor. This frosting is combined with the crumbled cake to make the filling. Since the only flavors in this recipe are the cake and chocolate, you can substitute any other flavor you want for the vanilla frosting, such as vanilla marshmallow, funfetti, or chocolate fudge.
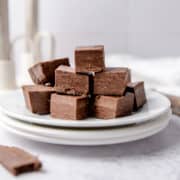
- Chocolate: For the coating. Whether you prefer dark chocolate, milk chocolate, or even white chocolate, take your pick because any of these would be perfect.
- Decorating gel: Although there are different types of food coloring, decorating gel is the best one for this recipe, since it offers a lot of control and you can drizzle any shapes or designs you want very easily. If you can use a pen, you can easily handle colored decorating gel. So pick any color or combination of colors you want. Oh, and it’s really fun to use as well!
Instructions Overview
Even beginners in the kitchen will find this cake popsicle recipe really easy to prepare. The first thing to do is make the white cake using a boxed mix. Once it’s cooled you can crumble it and mix it with vanilla frosting. This is going to be the filling.
Next, go ahead and melt the chocolate using a microwave. Coat the inside of the molds with melted chocolate and then chill for a few minutes until set. Add a second layer and let this set too. Now divide the crumbled cake and frosting mixture between the molds and poke a popsicle stick into each one.
These will only take a couple of minutes in the refrigerator to set completely. Next is the fun part, making designs with the colored frosting gel! And that’s it - your cake popsicles are ready to serve!
Common Questions
These treats range from bite-size to full popsicle size, so you can make yours whatever size you prefer! As for the shape you can also choose this for yourself too when making these cake popsicles.
This can happen if the cake inside the chocolate outer layer is too wet. Remember not to include oil in the cake mix if the instructions call for it. You won't need it anyway because the baked cake is going to be combined with frosting to add moisture but also keep the filling thick enough not to leak or ooze out.
Despite the name, cake pops aren't supposed to be like cake in texture. They aren't simply pieces of cake on a stick. Instead, the texture is supposed to be doughy and fudgy – much richer than a slice of cake.
If you use a mold to make cake popsicles you can ensure they're all going to be the same size and shape. Once you know how fun it is to make your own cake pops, you're going to want to experiment so investing in a good mold is a great idea. You can always make other kinds of popsicles in there too. I like silicon molds because they're flexible and you can toss them in the dishwasher since they are heatproof.
Yes, you can make these several days ahead if need be.
Put a paper towel in the bottom of an airtight container then place these on top. They should keep fresh for 5 days in the refrigerator.
Yes, they actually freeze really well. Once they are completely dried and set, you can freeze them in a large Ziploc bag for up to a month. Let them thaw overnight in the refrigerator before serving.
A cake pop makes a great snack or dessert, so pair one with any hot or cold drink you are in the mood for. They’re also a firm favorite with kids when they get home from school.
I always like to contrast the chocolate with the decoration. So maybe consider pink or turquoise gel if you’re using white chocolate or white or yellow if you’re decorating dark or milk chocolate cake popsicles so you have a nice contrast.
Chopnotch Tips
- Leave the oil out of the cake mix directions if they call for it. Once it's combined with frosting, you just don’t need the oil for a moist result.
- Experiment with different colors and designs with the decorating gel. You can combine more than one color if you wish. It isn’t hard to make these look professional - even a basic drizzle looks good!
- Dip each stick into melted chocolate before pressing it into the mold. This helps ensure it stays in place when unmolded.
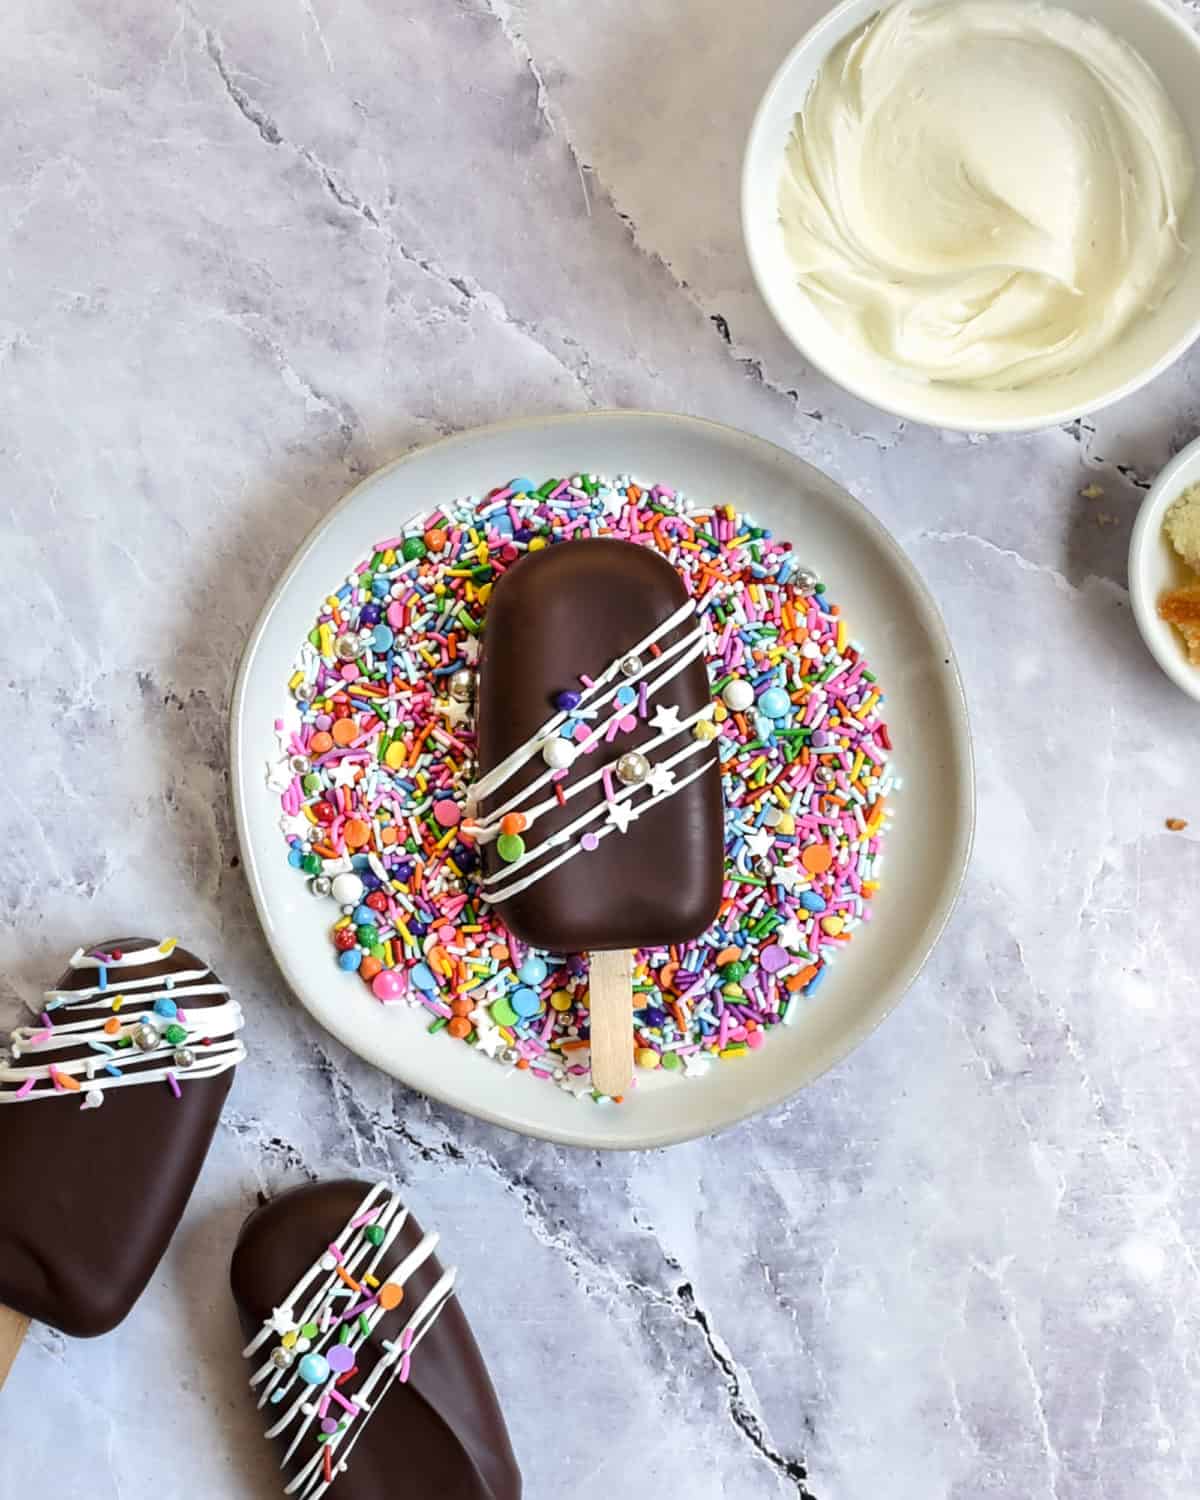
Although cake popsicles are all the rage, they typically cost upwards of a dollar per piece. Fortunately, it’s quick and easy to make your own at home. You only need 4 ingredients and the molds for a perfect and impressive result.
Related Recipes
Let us know what you think! Give this recipe a rating in the comments section below.
Recipe
How to Make
Cake Popsicles
Ingredients
For the filling:
- 1 baked white cake, in two 8-inch round cake pans
- ⅓ cup vanilla frosting
For the shell:
- 32 ounces pure dark chocolate, melted and tempered
For decorating:
- 1 tube decorating gel, or more if you want to use multiple colors
Instructions
To make the filling:
- Bake a white cake in two 8-inch round cake pans, following the box instructions. Optionally, omit the vegetable oil when prepping the cake mix, if the instructions call for oil
- Once baked and cooled, take one of the round cakes and crumble it into a large bowl. Then mix in the frosting using a mixer or your hands until the texture of the filling is smooth and gooey. You can re-purpose the 2nd round cake for another recipe or use it to double the batch of this recipe.
To temper the chocolate in a microwave:
- Next, chop the chocolate into small pieces, and then place ⅔ of it into a microwave-safe bowl and microwave it at 50% power for 30-second intervals. Stir in-between each interval until fully melted.
- Check the temperature of the fully melted chocolate using a candy thermometer. It should read between 100°F to 110°F. If not, continue to microwave for 30-second intervals until this temperature range is achieved.
- Now remove from the microwave and add the remaining ⅓ chocolate pieces into the bowl, a little at a time in small amounts, while stirring in-between to make sure it melts before adding more.
- Once all the remaining pieces have been melted into the bowl, the chocolate will thicken and become cool and shiny looking. Continue to monitor its temperature. Once it cools down to a range of between 84°F and 91°F, it is tempered and you are ready to proceed to the next step.
To make the popsicles:
- Make sure your molds are at room temperature, and then take 1 tablespoon of the tempered chocolate candy and paint the inside of one mold with it. Repeat this step until all of the molds are painted, and then place them in the refrigerator and let chill for 4 minutes or until the candy shell is hardened.
- Remove them from the refrigerator once hardened, and then repeat the above step to add a second candy layer around the inside of each mold. Again, chill for about 4 minutes until hardened.
- Now remove them from the refrigerator and fill each one with about 1 tablespoon of the crumbled cake filling. Then firmly push a popsicle stick into each mold, and press the filling into the shell so that you leave a small gap from the surface of the filling to the surface of the mold.
- Fill the small gap you left with 1 teaspoon of chocolate candy over the top of the filling so that it’s now flush with the surface of the mold, and then use the straight edge of a spatula or knife to scrape away any excess chocolate candy that may have spilled over onto the surface of the mold.
- Chill for about 2 minutes or until the candy layer hardens. Unmold and decorate.
To decorate:
- Use your colored gel tube(s) to drizzle lines or shapes onto the surface of each popsicle as desired, and then serve. Enjoy!
Notes
- Leave the oil out of the cake mix directions, if they call for it. Once it's combined with frosting, you just don’t need the oil for a moist result.
- Experiment with different colors and designs with the decorating gel. You can combine more than one color if you wish. It isn’t hard to make these look professional - even a basic drizzle looks good!
- Dip each stick into melted chocolate before pressing it into the mold. This helps ensure it stays in place when unmolded.